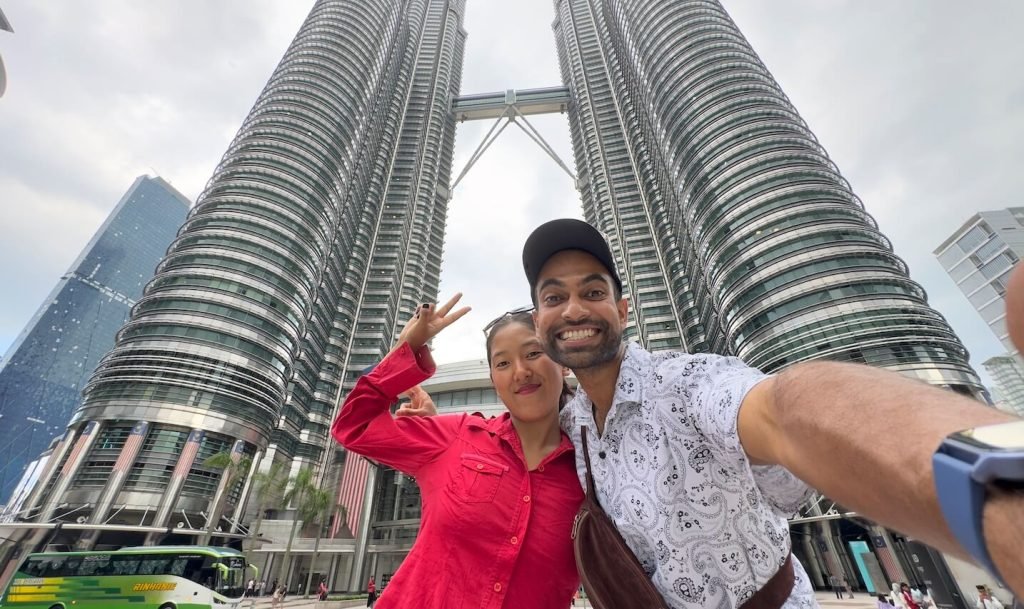
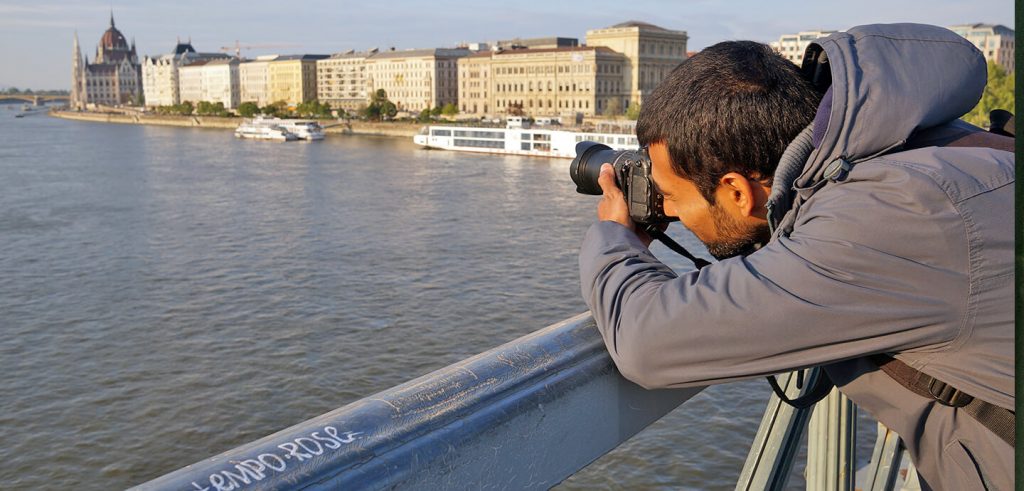
Travel photography is an ideal career choice for someone who takes pleasure in exploring the world and taking pictures. If you are an outdoorsy person, for example, you will definitely enjoy being one-on-one with nature and its majestic beauty. The ones who like meeting new people and being social will, however, appreciate travel portraiture.
The problem is, every photographer, from new to experienced, make travel photography mistakes.
Common Travel Photography Mistakes
Overexposed Photo
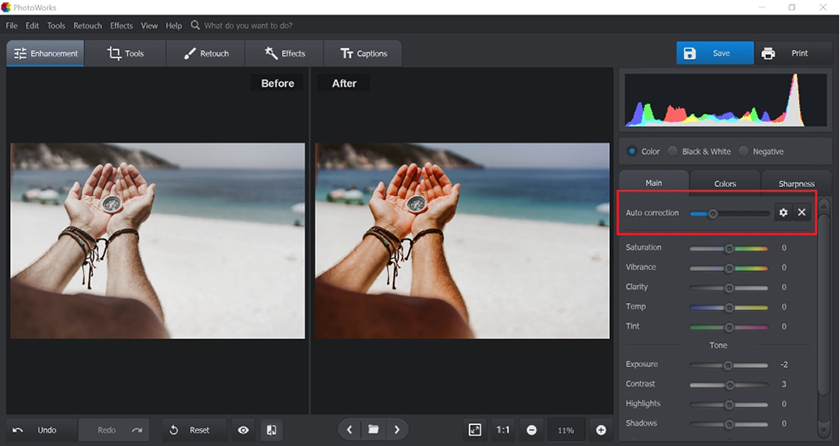
If you shoot outside during a bright sunny day, there is a big chance that your pictures might be overexposed.
How to recognize it?
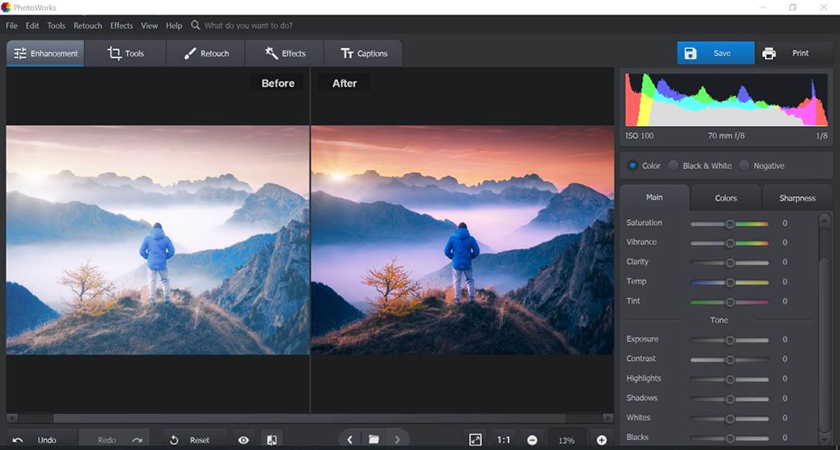
Apart from looking at the image and seeing it for yourself, you can analyze your photo with a histogram. It will show you the distribution of dark and light tones and let you see whether the picture was overexposed.
How to Fix It
At first, try autocorrection – a tool that will automatically detect the wrong light disposition and improve it for you. Secondly, you can try to adjust the exposure manually by dragging the Exposure slider in the program to the left.
As a result of exposure adjustment, you might experience a loss of colors and overall brightness. But that’s easily fixable with Whites to bring the brightness back and Highlights to add depth to the details.
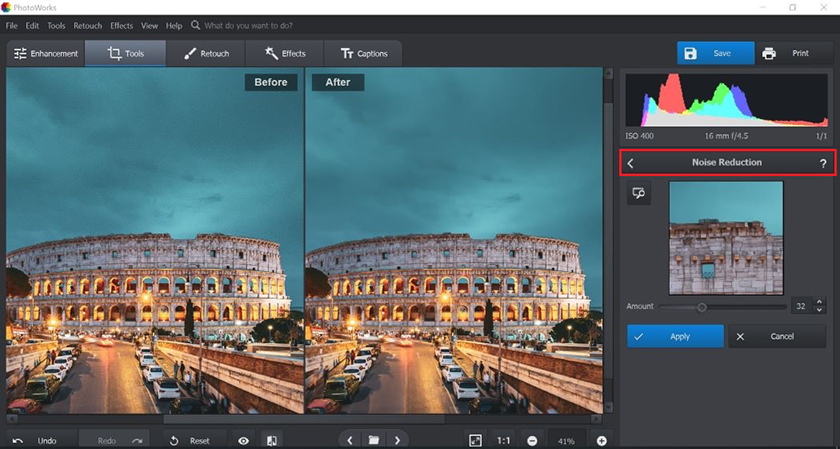
Grainy Photo
Grainy photos are usually referred to as so-called digital noise or image noise. It makes photos look unprofessional and heavily pixelated which will become significantly obvious once you put the image on a piece of paper. Especially in a big size, grainy photos will reveal every imperfection and turn your work into an old-timey picture of poor quality.
Whether it comes due to a bad sensor, or high ISO settings, or poor exposure, there are some techniques to get rid of this travel photography mistake.
How to Fix It
You will find Noise Reduction under Tools. Select it and the program will automatically zoom in on some part of the picture that needs help. Sometimes, the procedure of noise reduction might make your photo blurry. No worries, adjust the Clarity settings until the image looks sharp.
Wrong Color Rendition
Even if you equip yourself with expensive professional gear, you will still make mistakes once in a while. Mistakes are a part of every learning curve and they help you to get better.
New photographers often struggle with capturing the true colors – the sky might be a bit purple or skin tone might look off.
Luckily, there is nothing you cannot fix with the help of a photo editor.
How to Fix It
Here again, the auto-correction tool will save your image. Don’t forget to switch to Color by checking the corresponding box.
Additionally, you can restore the original colors manually with Color Balance. Finally, discover a professional wizard tool – Tone Curve. Open it in the Toolbar and you will see a graph on your right. You have a choice among RGB, Red, Blue, and Green whereas RGB adjusts the overall brightness.
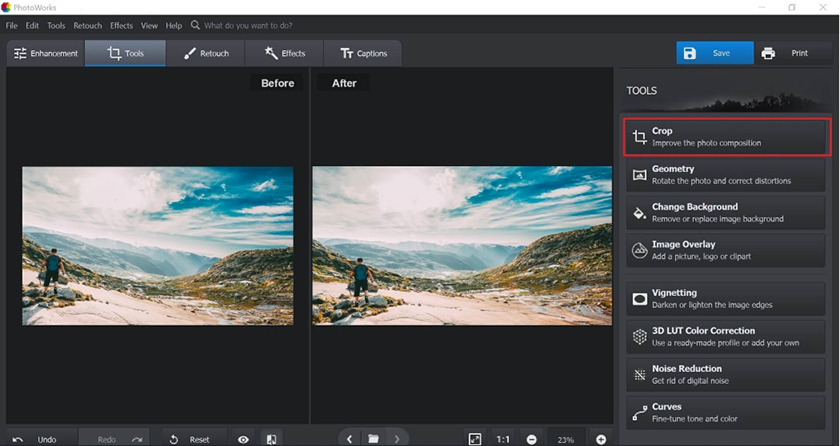
Crooked Horizon
One of the most common travel photography mistakes is a crooked horizon that can spoil the impression of even a very good photograph.
If you find that your composition is off or the background distracts viewers from the object, simply crop your image.
Another issue is placing the object of your photo right in the center instead of using the rule of thirds which makes it look boring and predictable. All of the above is easy to fix with a quick cropping tool.
How to Fix It
Select the Cropping tool and drag the edges to the part of the photo you would like to keep. Fix the horizon line, create a better composition, and play around with perspectives to discover something special.
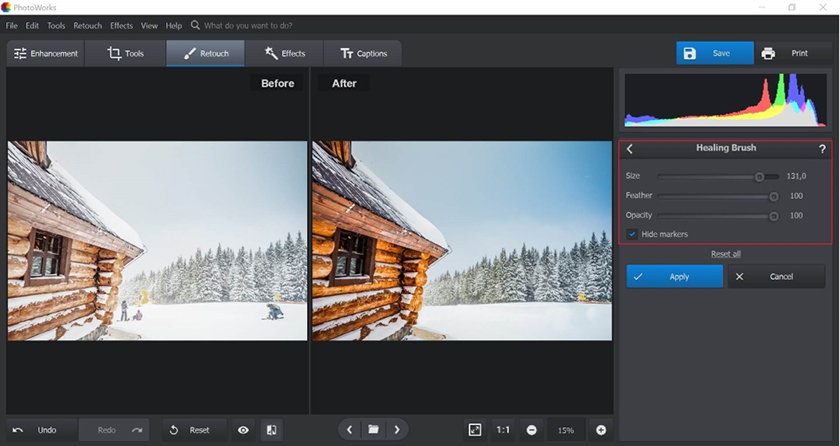
Unwanted Objects in the Background
We all have great photos that have been spoilt by someone or something in the background. Especially in tourist-dense areas, it is almost impossible to avoid people altogether. But there is a way to save your great shots.
How to Fix It
The first tool you should master is the Healing Brush – simply apply it to the area you would like to remove and it will automatically turn it to the color of the surroundings. If the area is too big, use the Clone Stamp – a tool that copies a pattern from a chosen part of the image and pastes it on the unwanted objects.
Travel photography is a great career path for an adventurous and creative person. You will enjoy every step of it, and even the bad parts are going to be worth it. But do not be afraid to make mistakes and practice as much as you can.
Travel photography mistakes are fixable with some caution, however, the experience is irreplaceable.
Also Read: 11 Useful Travel Photography Tips For Beginners
If you have a question or would like to connect, please find me on Instagram. You can also follow my YouTube channel for video updates.